This page is the common thread. It takes you once through a whole job — customer, site, quote, invoice, money — and for every step points to the page that explains it in detail. Go through it once and you have seen every screen you need on a normal day.
Allow just under an hour the first time, most of it for step 1. With the second job it is a matter of minutes.
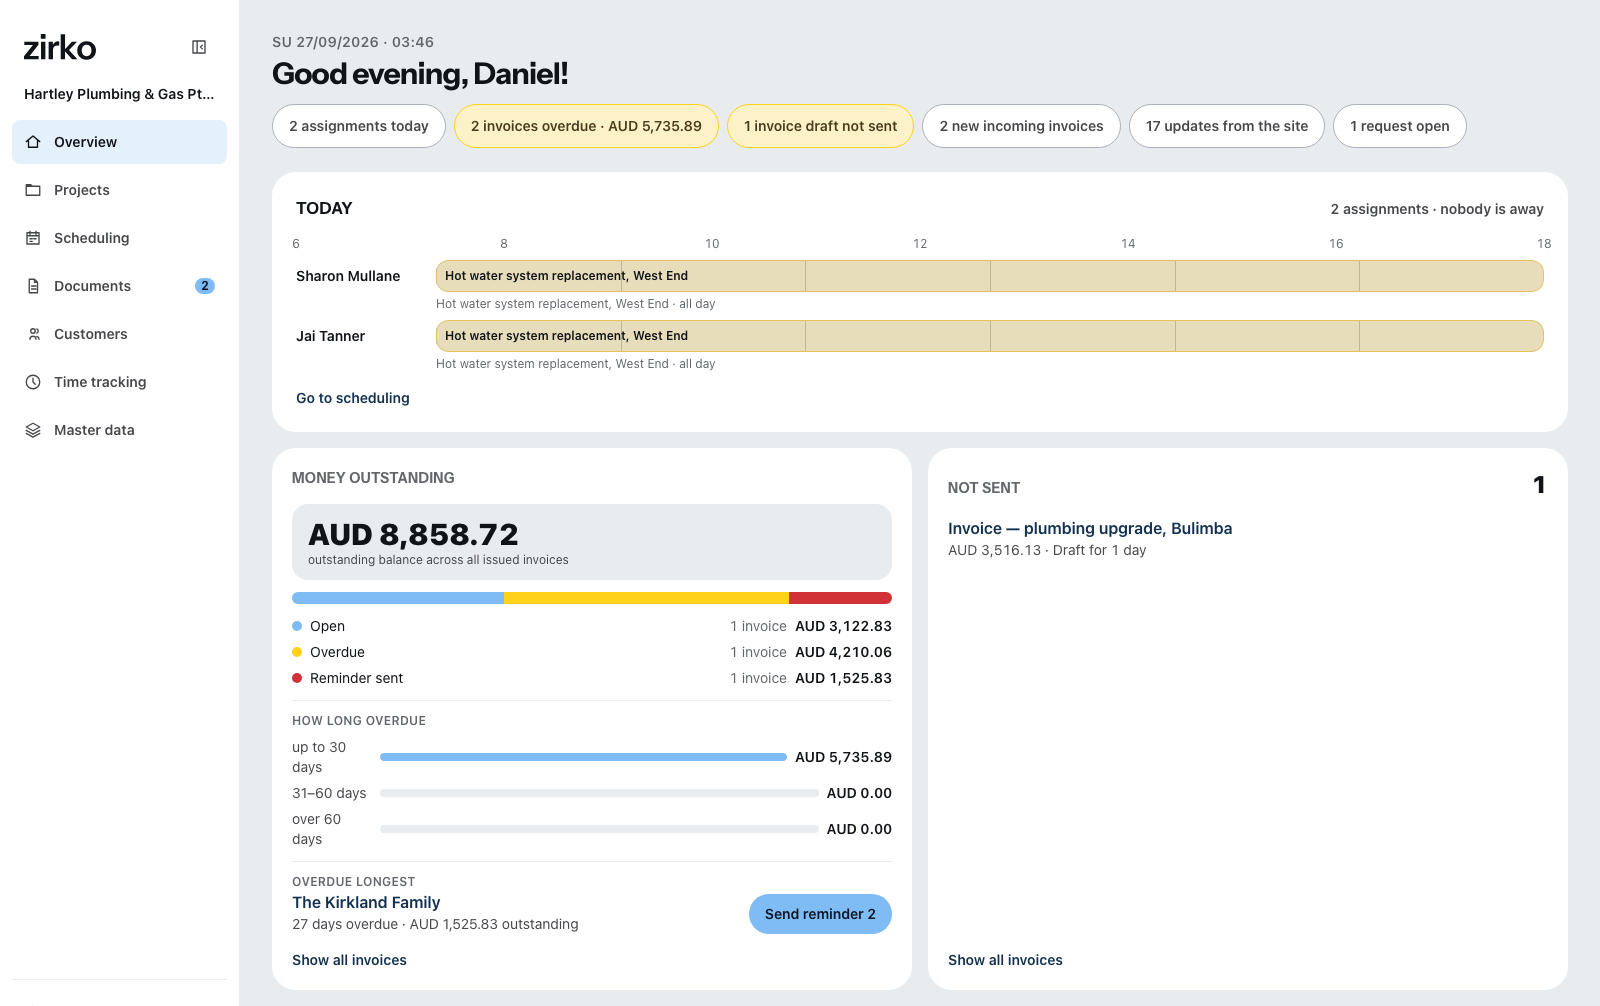
1. Your business details — once, before anything else
Settings → Company → Business details. What you enter here appears on every quote and every invoice: address, tax number, bank details. If a detail that the law of your country requires on an invoice is missing, Zirko will not let you finalize the invoice later and tells you what is missing — better to fill it in now. Details: Business details, logo and tax numbers.
Your logo goes under Settings → Templates & layout → Letterhead. That is a nice extra, not a must.
2. Creating the customer
Customers → New customer, then Person or Organization, enter the name, Create customer. That is all it takes. You add the address afterward on the Address card — the first one is the one printed on the invoice. See Creating a customer.
3. Creating the project
Projects → New project, enter a name, search for the customer, Use the customer's address — and under Employees pick the people who go out to the site. Only they see the project on their phone. See Creating a project.
Every document belongs to a project. That is why the project comes before the quote, not after it.
4. Writing the quote
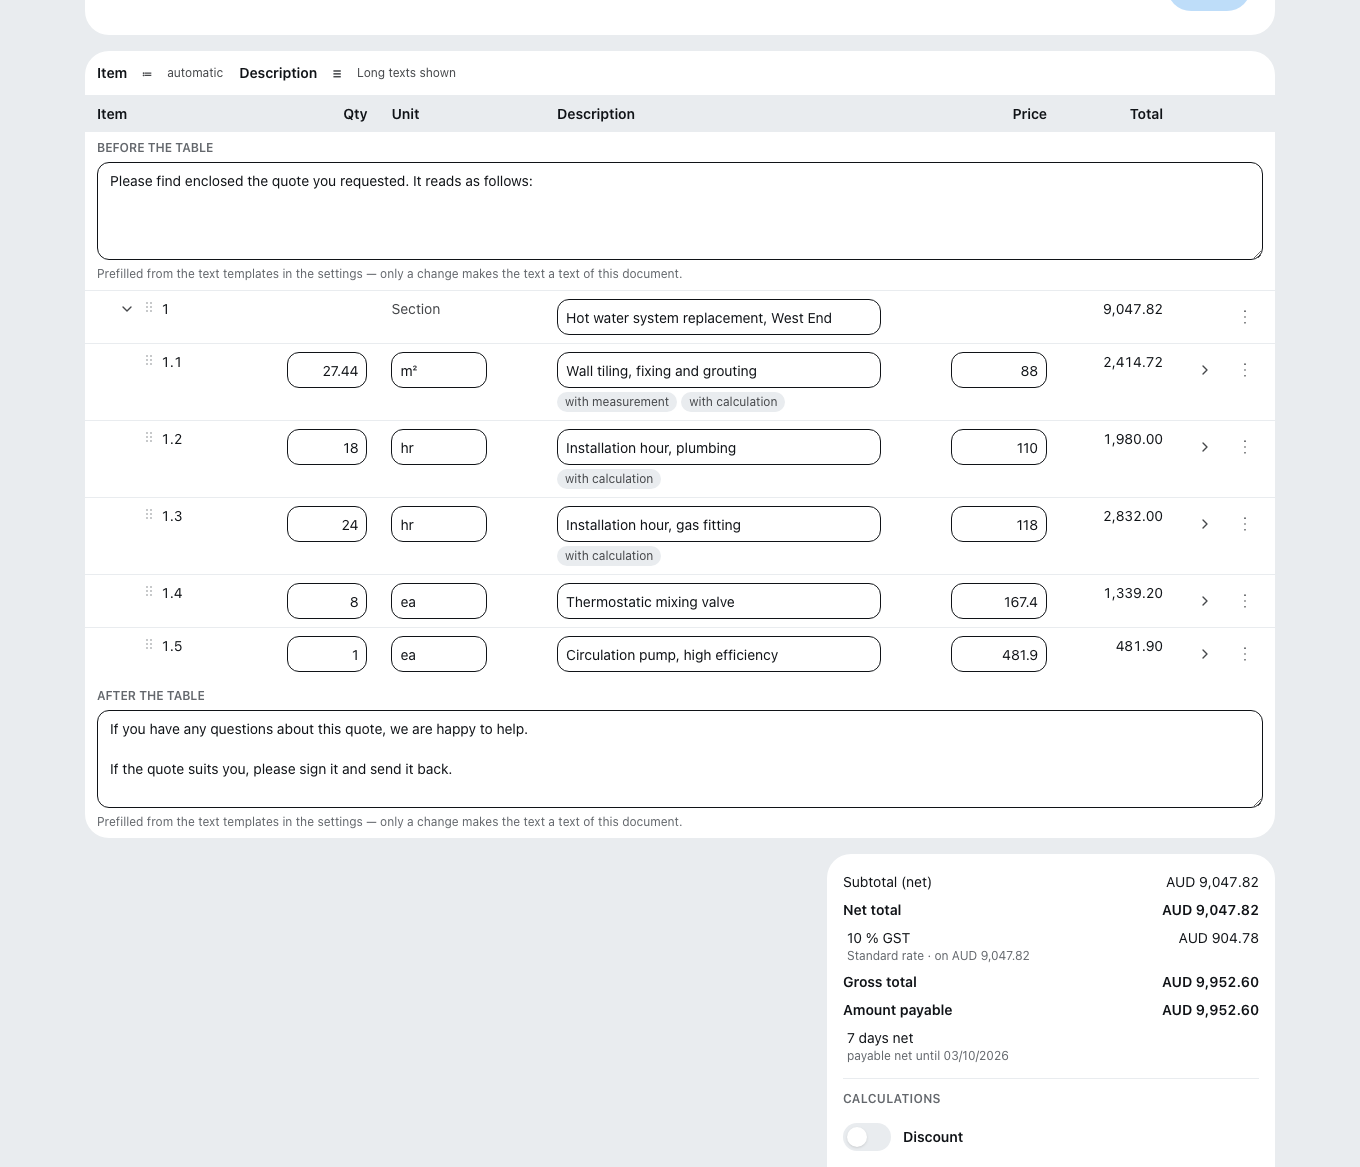
Documents → New document, pick the project, then Quote. Recipient and place of work come from the project. In the toolbar on the right you drag Item into the document and fill in the short text, quantity, unit and price. Saving happens on its own — at the top it says “Saved”.
If you have already created services and materials, you bring them in through the Search tab instead of typing them in every time. Everything else: Writing a quote.
5. Sending the quote
Finalize document at the bottom of the closing block, then the envelope icon at the top: Send by email. Subject and text are filled in, the PDF is attached. See Sending a document.
6. Turning the quote into the invoice
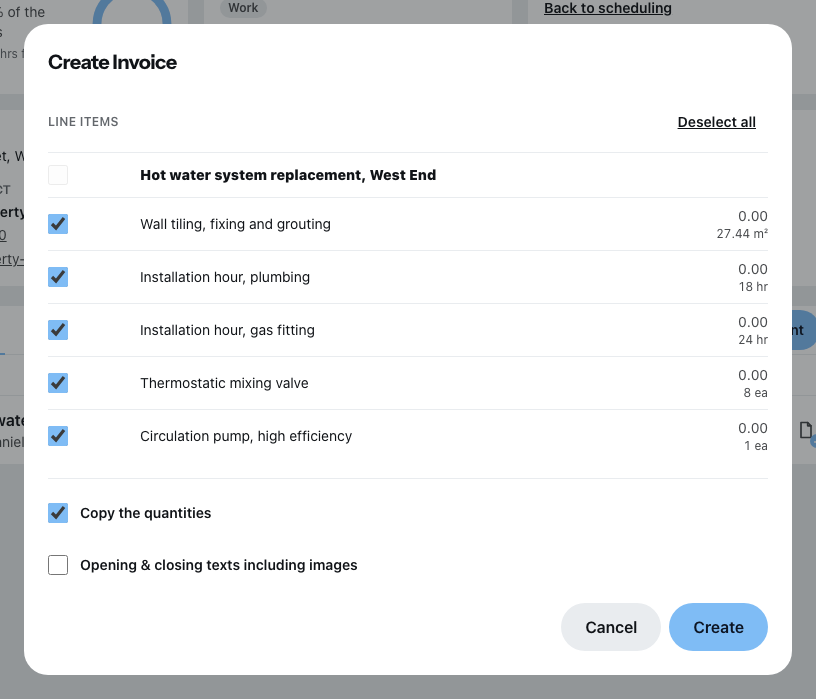
The work is done. Open the Project, tab Documents. On the quote's row there is a sheet with a small plus — Create a linked document. In it you choose Invoice, in the dialog the line items and Copy the quantities, then Create. Nothing is typed again; you only adjust what has changed — quantities, for example, if the measurement came out differently.
Then Finalize document and Send by email, just as with the quote.
Once finalized, an invoice cannot be changed. That is required by law, not by Zirko. Check it calmly in the dialog beforehand — a mistake after that can only be put right through a cancellation. See Writing and finalizing an invoice.
7. Recording the payment received
Once the money is in the account, open the invoice, click Payments and confirm with Record payment — the outstanding amount is already filled in. Only then does Zirko know that nothing is outstanding any more, and it does not send a reminder. See Recording a payment.
And after that
The Getting started tile on the overview ticks off what you have done and disappears as soon as everything is in place. The Help and support tile stays and leads to short Tours right inside the application.
Worth doing next:
- Inviting employees — so your team sends times and reports from the site.
- Switching from other software — if your customers and prices already live somewhere else.